
Managing resource allocation for applications in Kubernetes can be challenging, especially when usage patterns are unpredictable, this is where Vertical Pod Autoscaler (VPA) comes in handy.
Unlike the Horizontal Pod Autoscaler (HPA), which increases or decreases the number of pods based on workload metrics, VPA focuses on adjusting the CPU and memory requests and limits of your existing pods to match their actual usage.
In this blog, you’ll learn about the concept of VPA, how to implement it, and the steps to test and validate its functionality.
What is the Vertical Pod Autoscaler (VPA)?
VPA is a Kubernetes feature designed to optimize the resource usage of your pods.
Imagine running an application with resource requests and limits that are either too high or too low, over-provisioning wastes resources, while under-provisioning causes performance issues.
VPA takes care of this by analyzing the actual resource usage of your pods and adjusting their CPU and memory requests to match current needs.
VPA has three components:
- Recommender - The Recommender monitors resource usage with the help of a metrics server and recommends resources for the pod.
- Updater - The Updater ensures that pods are recreated with the recommended resource values.
- Admission Controller - It applies the recommended resource values to new pods at the time of their creation.
Why Use VPA?
Optimizing resource utilization is crucial in Kubernetes clusters to ensure efficiency and cost-effectiveness. VPA takes care of this process automatically, which reduces the risk of human error and saves time.
By matching actual usage, VPA ensures that resources are not over-allocated or under-allocated.
VPA removes the need for manual adjustments, allowing developers to focus on building and deploying applications.
VPA enhances the performance of applications by allocating the resources they need to function properly.
How VPA Works
The diagrammatic workflow of VPA is given below.
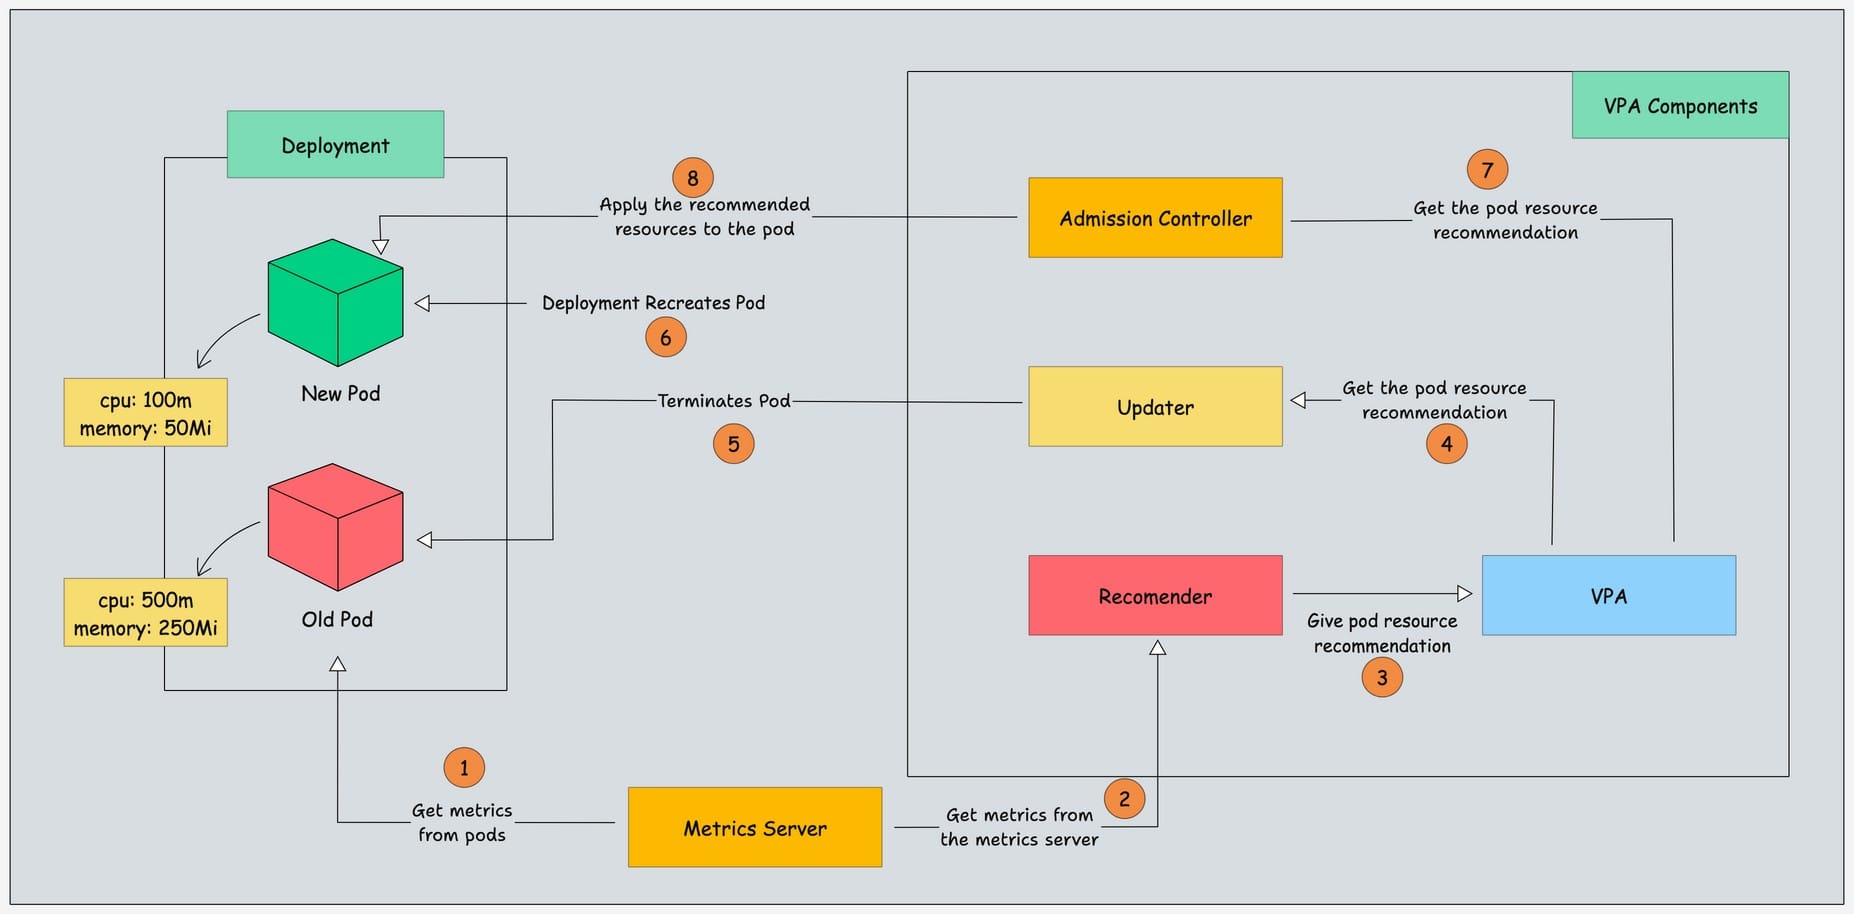
Here is how it works:
- The
Metrics Servercollects data about how much CPU and memory the pod is using. - This data is sent to the
VPA Recommender, which analyzes it. - The
VPA Recommendersuggests the right amount of CPU and memory for the pod based on its usage. - The
VPA Updatergets these recommendations from theVPA Recommender. - If a pod needs updated resources, the
VPA Updaterterminates the old pod. - The
Deploymentnotices the missing pod and creates a new one. - While the new pod is being created, the
VPA Admission Controllerensures it starts with the recommended CPU and memory. - Finally, the new pod runs with the updated resources.
Prerequisites
The prerequisites are given below:
How to Install VPA
Follow the below steps to install VPA on the Kubernetes cluster.
Step 1: Install Metrics Server
VPA does not come pre-installed on the Kubernetes cluster, we have to install it manually to use it.
Before installing VPA on the cluster, install the metrics server because VPA relies on the metrics server to get the resource usage of pods.
Run the following command to install the metrics server.
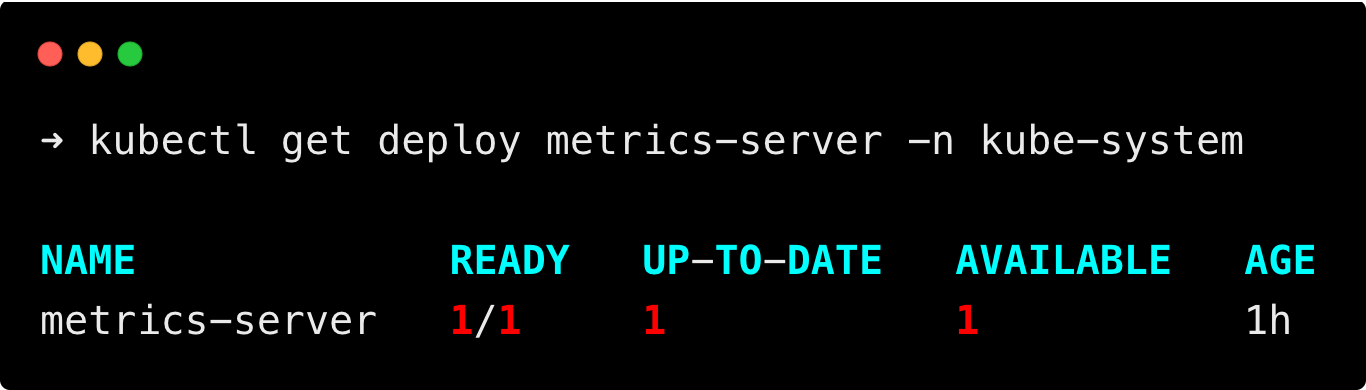
kubectl apply -f https://raw.githubusercontent.com/techiescamp/kubeadm-scripts/main/manifests/metrics-server.yamlThen, run the following command to check if the metrics server deployment is up and running.
kubectl get deploy metrics-server -n kube-systemYou will get the following output.
Step 2: Clone Git Repository
Run the following command to clone the autoscaler git repository.
git clone https://github.com/kubernetes/autoscaler.gitThis repository contains all necessary manifests and scripts for VPA installation.
Step 3: Generate Certificates for Admission Controller
The VPA Admission Controller requires certificates to securely inject recommended resource requests into pods.
The gencerts.sh script has the commands to generate certificates and configure them.
Run the following command to run the gencerts.sh script.
./autoscaler/vertical-pod-autoscaler/pkg/admission-controller/gencerts.sh
This script generates a self-signed CA certificate and other server certificates required for the VPA Admission Controller and store them in the temp location /tmp/vpa-certs.
The certificates and keys created by the script are caCert.pem, caKey.pem, serverCert.pem, and serverKey.pem.
These work together to create secure communication between the Kubernetes API server and the VPA Admission Controller.
It then creates a Kubernetes secret vpa-tls-certs in the kube-system namespace with the TLS keys for secure communication.
Step 4: Deploy the VPA components
The final step of the setup is to deploy the VPA components, go to the autoscaler/vertical-pod-autoscaler/hack directory using the following command.
cd autoscaler/vertical-pod-autoscaler/hackAnd run the vpa-up.sh script to deploy the VPA components.
./vpa-up.sh
This script deploys the VPA components Recommender, Updater, and Admission Controller to your Kubernetes cluster.
Also, configures the necessary RBAC permissions and CRDs required for VPA.
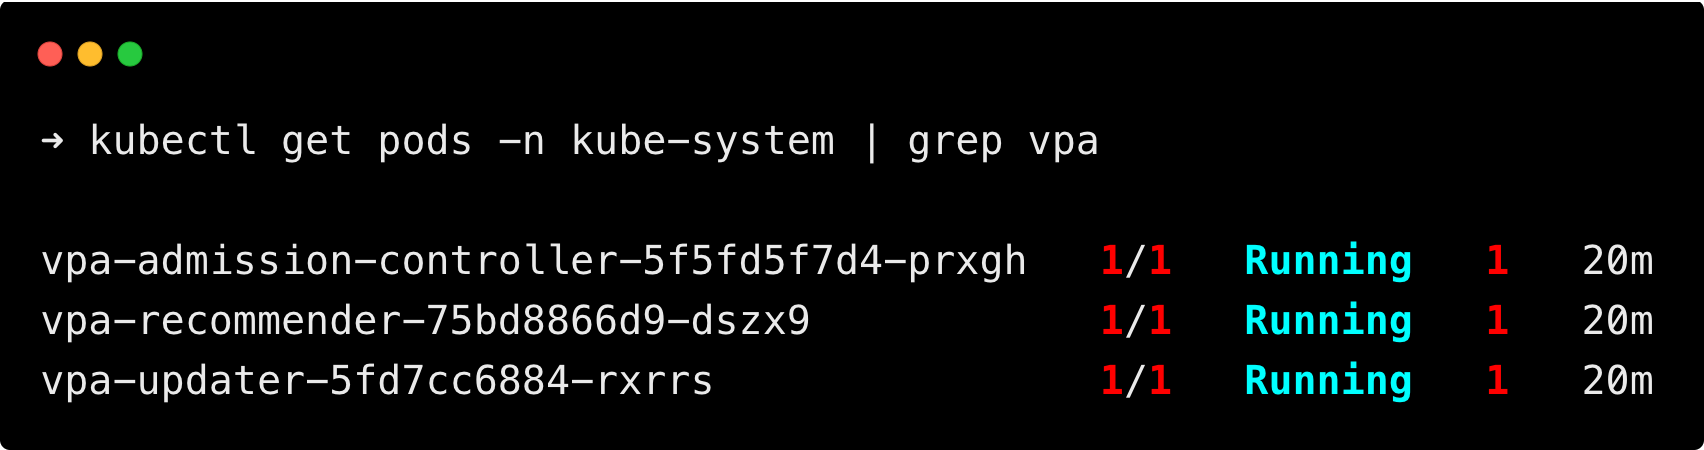
After running the vpa-up.sh script, verify that all VPA components are running.
kubectl get pods -n kube-system | grep vpa
Learn about VPA Configuration Options
When defining a VPA resource, several configuration options are available to customize its behavior.
Given below is an example VPA configuration resource file.
apiVersion: autoscaling.k8s.io/v1
kind: VerticalPodAutoscaler
metadata:
  name: example-vpa
  namespace: default
spec:
  targetRef:
    apiVersion: apps/v1
    kind: Deployment
    name: example-deployment
  updatePolicy:
    updateMode: "Auto"
    minReplicas: 1
  resourcePolicy:
    containerPolicies:
    - containerName: "*"
      minAllowed:
        cpu: "100m"
        memory: "128Mi"
      maxAllowed:
        cpu: "2"
        memory: "1Gi"
controlledResources: ["cpu", "memory"]Explanation:
- targetRef
This block tells the VPA which workload it should manage. It identifies the target resource that the VPA will monitor and adjust.
apiVersion: Specifies the API version of the target resource, in this case,apps/v1.kind: The type of Kubernetes resource to target. Here, it’s aDeployment.name: The specific name of the resource that VPA will manage, here it is a deployment named asexample-deployment.
- updatePolicy
This block defines how VPA applies resource recommendations to the target pods.
updateMode: Determines how VPA updates the pod’s resources. There are three modes in VPA, they are:Off: VPA only provides recommendations but doesn’t update pods.Initial: Updates resources only at pod creation, if you are using this mode, you have to manually restart the pod to update the resources.Auto: Automatically updates resources by evicting and recreating pods as needed.
It is also the default mode, if there is no update mode set, this mode is used.
minReplicas: This tells the VPA that even if there’s only one pod, it can still be updated. By default, this is set as2byVPA Updater.
- resourcePolicy
This block specifies fine-grained control over how VPA manages resources for containers in the pods.
containerPolicies: Tells which containers VPA needs to manage or specific*for all containers in the pod.minAllowed: Sets the minimum resource requests that VPA can assign to the container.cpu: "100m": VPA will not allocate less than 100 milliCPU.memory: "128Mi": VPA will not allocate less than 128 MiB of memory.
maxAllowed: Sets the maximum resource requests that VPA can assign to the container.cpu: "2": VPA will not allocate more than 2 CPUs.memory: "1Gi": VPA will not allocate more than 1 GiB of memory.
controlledResources: Specifies which resources the VPA can manage.- In above example, it specifies both
"cpu"and"memory", you can also select eithercpuormemoryas well.
- In above example, it specifies both
Testing VPA
To verify that the VPA is functioning correctly, deploy a simple Nginx pod and configure a VPA resource to manage it.
Step 1: Create a Deployment and VPA Resource
Create a YAML file deploy.yaml and copy the below content.
apiVersion: apps/v1
kind: Deployment
metadata:
  name: nginx
spec:
  selector:
    matchLabels:
      app: nginx
  replicas: 1
  template:
    metadata:
      labels:
        app: nginx
    spec:
      containers:
      - name: nginx
        image: nginx:latest
        resources:
          requests:
            cpu: 100m
            memory: 50Mi
          limits:
            cpu: 250m
            memory: 100Mi
We have specified a resource request and limit for the deployment, let's see how VPA modifies it according to the usage.
Create a YAML file vpa.yaml and copy the below content to create the VPA resources.
apiVersion: autoscaling.k8s.io/v1
kind: VerticalPodAutoscaler
metadata:
  name: nginx-vpa
spec:
  targetRef:
    apiVersion: "apps/v1"
    kind: Deployment
    name: nginx
  updatePolicy:
    updateMode: "Auto"
    minReplicas: 1
In the configuration file above, the nginx deployment is set as the VPA target, with updateMode configured as Auto and minReplicas set to 1.
This makes sure that the VPA automatically recreats and allocates resources to the pod, even when there is a single replica.
Apply both files using the following commands.
kubectl apply -f deploy.yaml

kubectl apply -f vpa.yaml
Step 2: Verify the Deployment and VPA Resource
Then run the following commands to check if the pod nginx is running, and the VPA resource has been created.
kubectl get po

kubectl get vpa
You will get the following output.
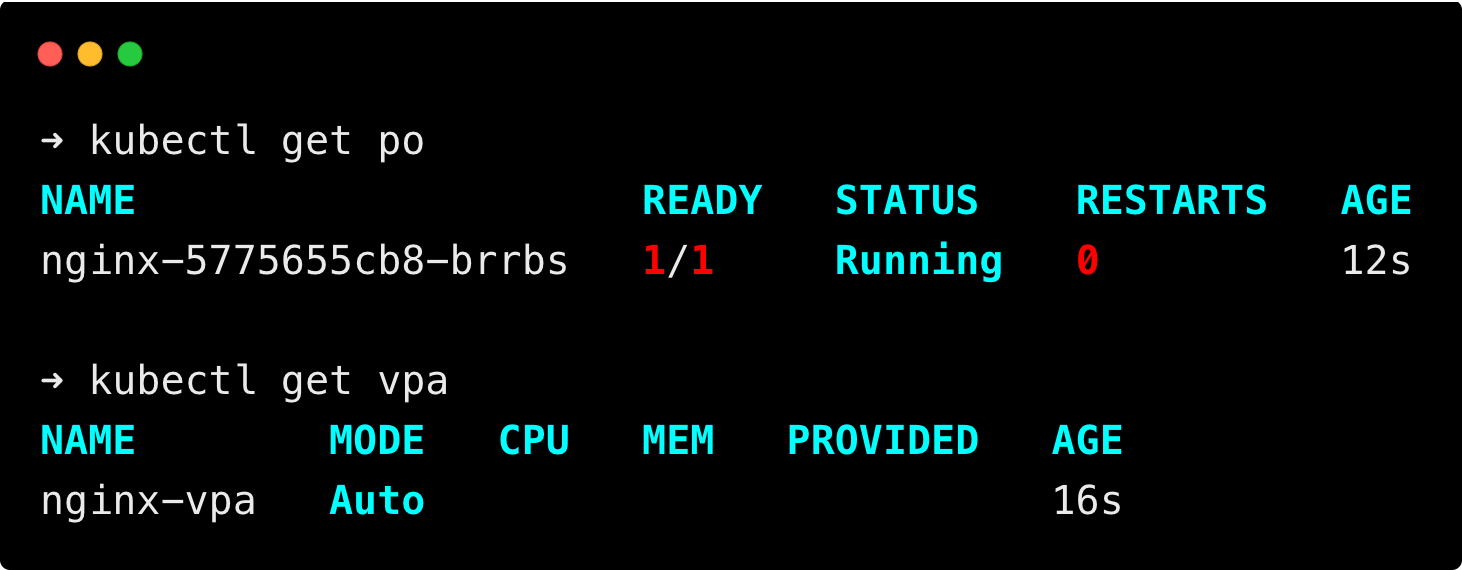
It may take some time for the VPA to collect metrics and show the recommended resource, wait for some time if it is not shown.
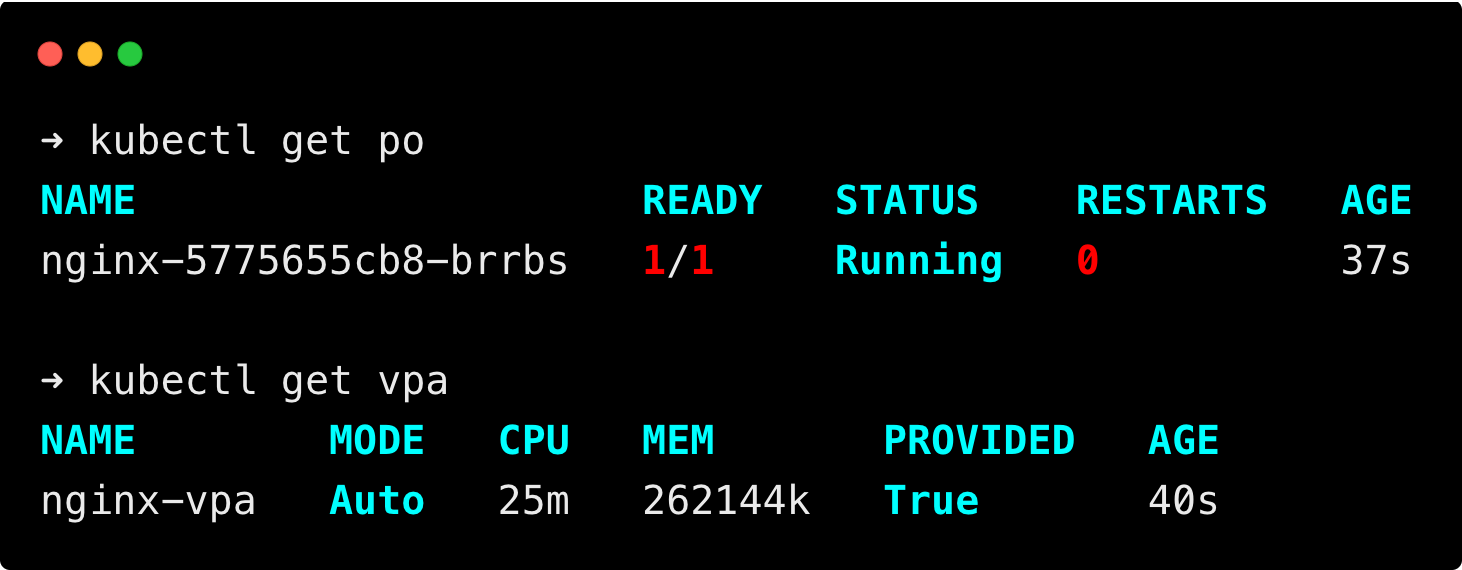
You can see the VPA has provided the recommended resource usage of the nginx pod.
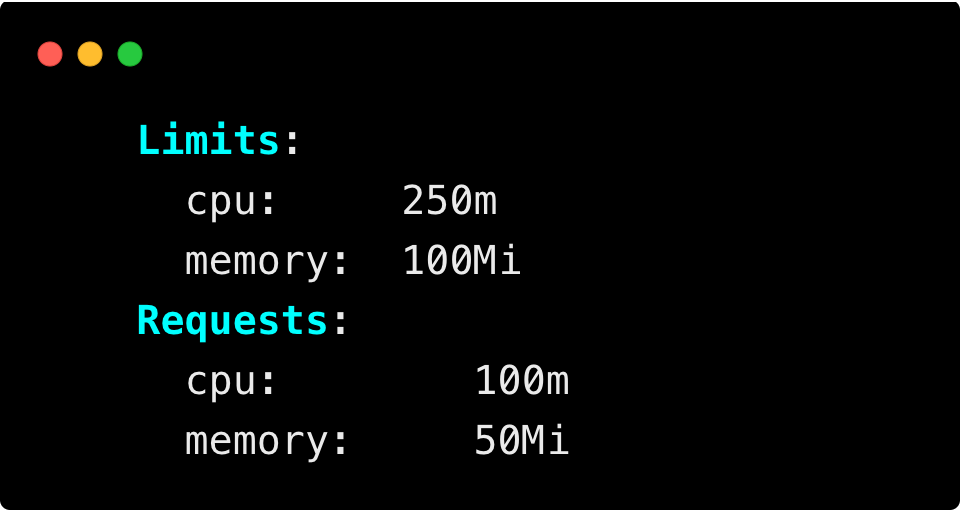
Then, describe the pod to check the resource requests and limits on the pod.
kubectl describe po nginx-5775655cb8-brrbsYou can see the pod's resource requests and limits are the same as we set during pod deployment.
Wait for some time, and we can see how the VPA recreats and allocates resource requests and limits for the pod.
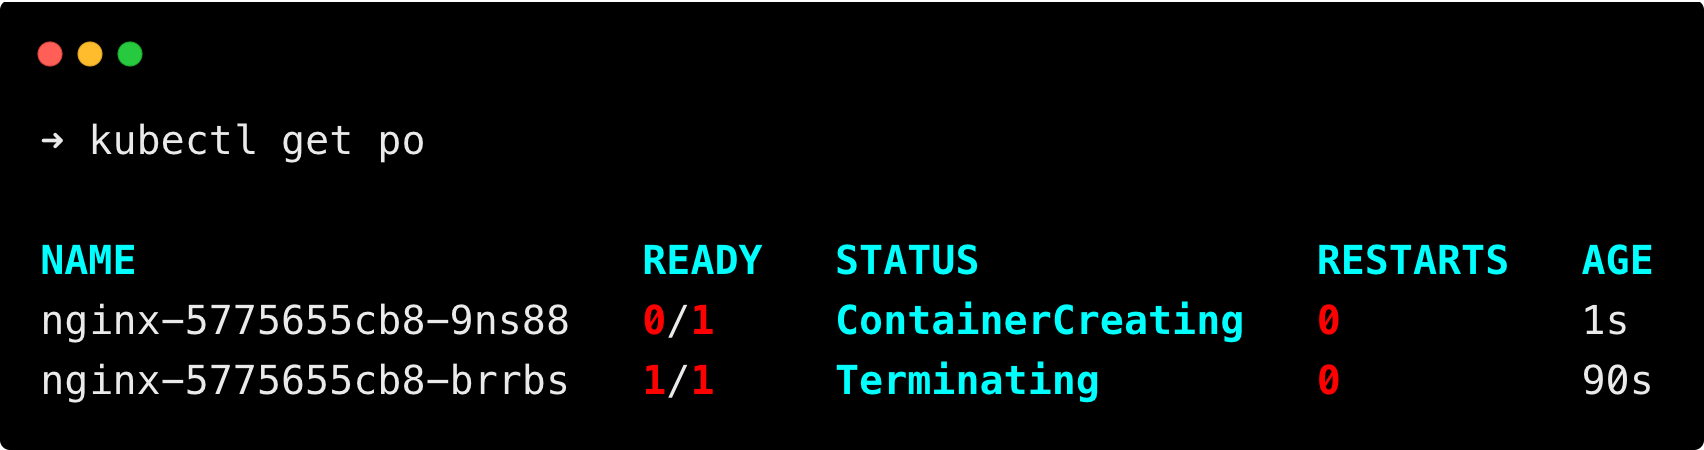
Step 3: Verification After Resource Update on Pod
After some time, you can see a new pod is created, and the old pod is terminating, as shown below.
Once the pod is up and running, run the following command to check if the pod requests and limits are updated.
kubectl get pods -l app=nginx -o yaml | grep -A 5 resources
You will get the following output.
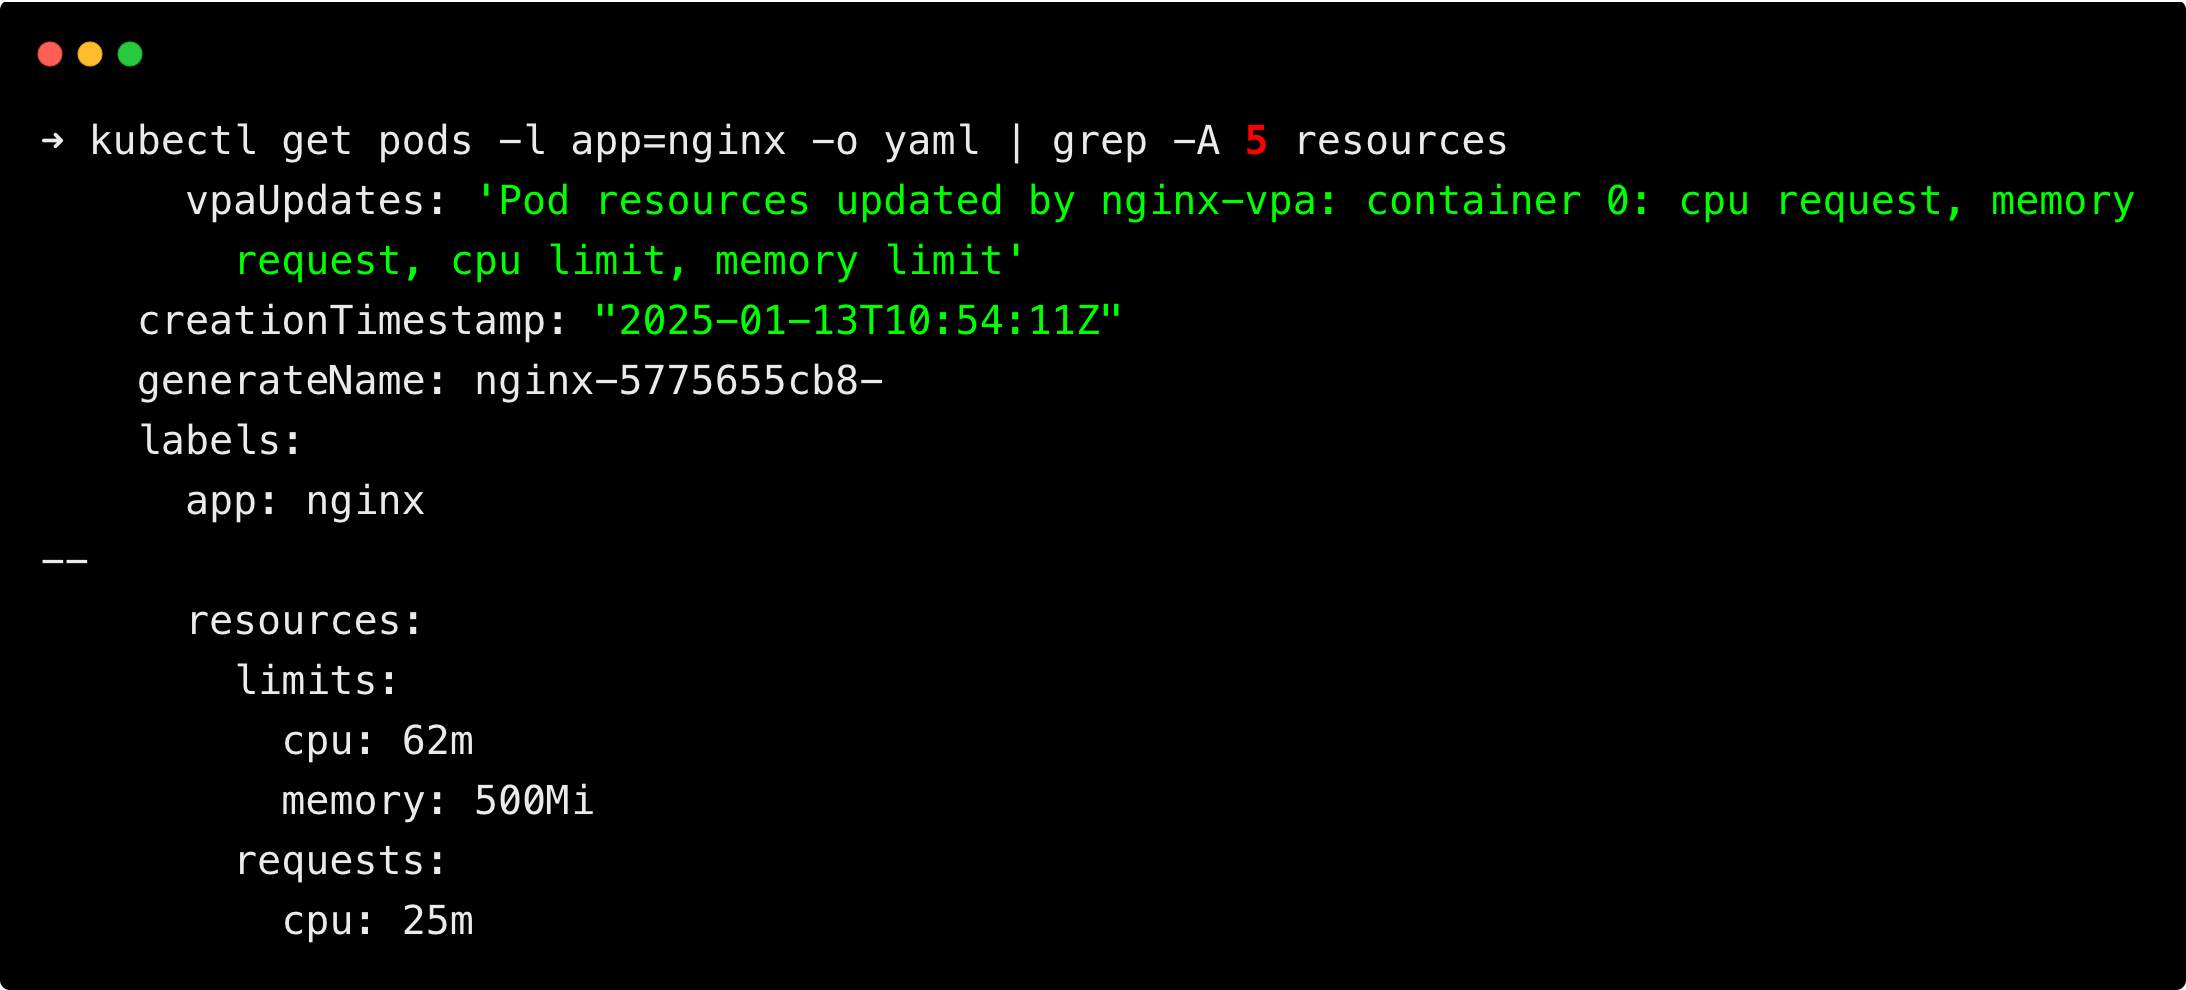
You can see the resource requests and limits of the pod have been updated to the recommended values by the VPA.
Clean Up
If you no longer need VPA, you can remove VPA from your system using the vpa-down.sh script on autoscaler.
Go to the directory where the autoscaler repository was cloned during the installation process Step 2.
Then, run the following command to remove VPA from the cluster.
./autoscaler/vertical-pod-autoscaler/hack/vpa-down.shThis will clean up the VPA components, including the Recommender, Updater, and Admission Controller, along with their associated resources.
Best Practices
Some of the best practices for VPA are listed below.
- Start with
Offmode to review recommendations before enabling automatic updates. - Regularly monitor to ensure the VPA configuration aligns with your workload needs.
- Use VPA for applications with unpredictable resource usage and HPA for scaling based on workload spikes.
- Avoid using VPA and HPA on the same deployment to prevent conflicts between resource allocation.
- Always make sure your cluster have enough resources for scale out.
Conclusion
The Vertical Pod Autoscaler simplifies resource management in Kubernetes by automatically adjusting CPU and memory allocations.
By implementing VPA, you can reduce resource wastage, enhance application performance, and minimize manual intervention.
With proper testing and best practices, VPA can become an essential part of your Kubernetes resource management strategy.